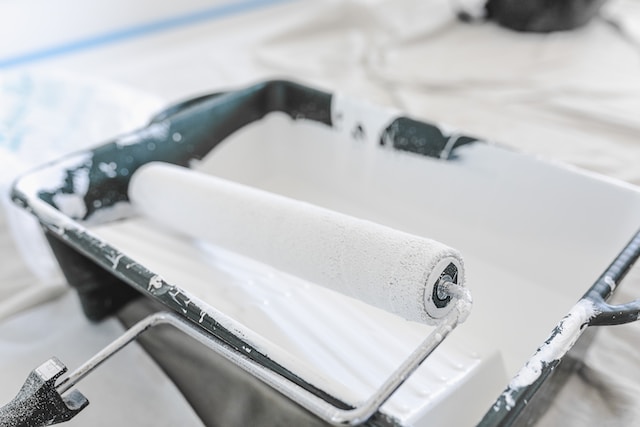
Paint rollers are essential tools for achieving smooth and even paint application. However, after use, they can become caked with dried paint, making them difficult to reuse or clean. Cleaning your paint rollers properly not only extends their lifespan but also ensures optimal performance for your future painting projects. In this article, we will unveil the secrets of experts and share effective methods to clean your paint rollers, keeping them in top condition for your next painting endeavor.
1. Remove Excess Paint
Before diving into the cleaning process, remove as much excess paint as possible from the roller. Use a putty knife or scraper to scrape off the excess paint back into the paint tray or bucket. This step will make the cleaning process more manageable and prevent excessive paint buildup in the cleaning solution.
2. Use Soap and Water
One of the most common and effective methods for cleaning paint rollers is to use soap and water. Start by filling a bucket or sink with warm water and add a few drops of dish soap. Submerge the paint roller into the soapy water and agitate it gently to loosen the remaining paint. Rinse the roller under running water while squeezing it to remove any lingering paint residue. Repeat the process until the water runs clear and the roller is clean.
3. Utilize a Paint Roller Spinner
For quick and efficient cleaning, consider using a paint roller spinner. This handy tool attaches to a drill and rapidly spins the roller, effectively removing paint. Simply attach the paint roller to the spinner, dip it in a bucket of water or paint thinner, and activate the drill. The spinning action will dislodge the paint from the roller fibers, making the cleaning process significantly easier and faster.
4. Try a Paint Roller Cleaner Solution
If you’re dealing with stubborn or dried-on paint, a specialized paint roller cleaner solution can be highly effective. These solutions are designed to break down and dissolve paint, making it easier to remove from the roller. Follow the instructions on the cleaner solution’s packaging, which typically involve soaking the roller in the solution for a specific amount of time. After soaking, rinse the roller thoroughly with water to remove any remaining residue.
5. Consider Using Paint Thinner
In cases where water-based paints are difficult to remove, such as with oil-based paints or certain types of finishes, using paint thinner can be a viable option. Pour a small amount of paint thinner into a container and submerge the roller in the liquid. Allow the roller to soak for a few minutes, then agitate it gently to dislodge the paint. Once the paint has loosened, rinse the roller under running water and continue rinsing until the paint thinner is completely removed.
6. Dry and Store Properly
After cleaning, ensure that the paint roller is thoroughly dried before storing it. Use a clean towel or cloth to remove excess moisture and allow the roller to air dry completely. Once dry, store the roller in a clean and dry place, away from direct sunlight and extreme temperatures. Proper storage helps prevent mold or mildew growth and keeps the roller in good condition for future use.
Conclusion
Effectively cleaning your paint rollers is essential for their longevity and optimal performance. By following these expert tips, you can ensure that your paint rollers are thoroughly cleaned and ready for future painting projects. Remember to remove excess paint before cleaning and consider using soap and water or specialized paint roller cleaner solutions.
For stubborn paint, a paint roller spinner or paint thinner can be effective options. Once cleaned, make sure to dry the roller completely and store it properly to prevent damage and maintain its quality. With proper cleaning and maintenance, your paint rollers will continue to be reliable tools for achieving smooth and professional paint finishes.